The installation process
You will require local administrator permissions for the PC on which you are installing LogTag® Analyzer.
To install the LogTag® Analyzer software, locate the installation file downloaded in the previous step and execute it (typically by double clicking or selecting the file in Windows® Explorer and pressing Enter).
To proceed through each step of the installation process, click . If you want to change a previous step you can click . At any stage during the process, if you want to stop installing the software, click .
-
Select the installer language

-
The software
The .NET framework is included in all supported operating systems which are up to date with the latest updates. If not, you will be asked to download and install the framework, as it is not included in the installer package.
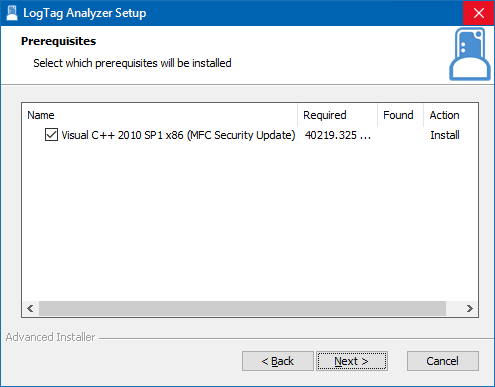
The Visual C++ runtime libraries may already be installed, as they are used for many other commercial software. They are included in the installer package, and you will be asked to permit their installation, otherwise the installer will abort.
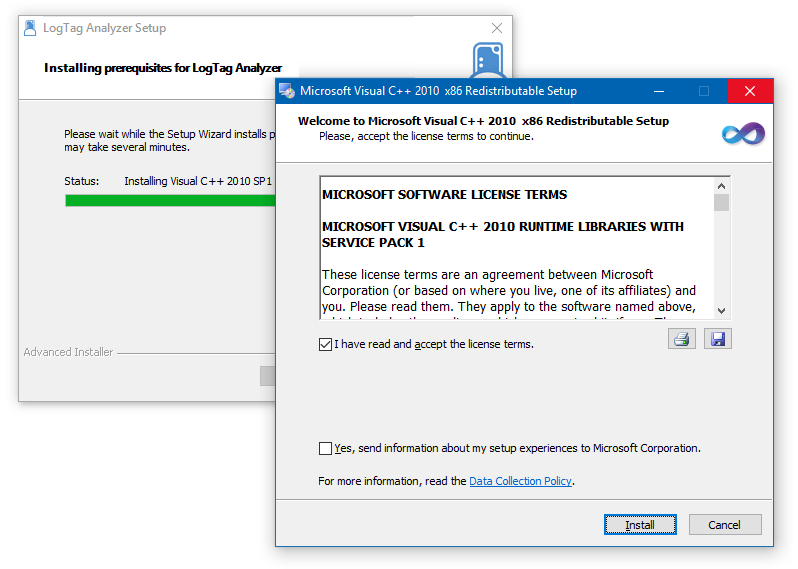
Once the installation is complete, click and continue with the installation of LogTag® Analyzer. -
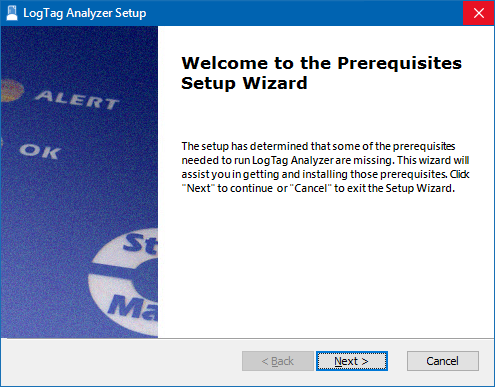
Accept the Welcome screen by clicking .

-
Accept the End-User License Agreement and click

-
Select the installation folder. You can type a folder name or browse to an existing folder. If the folder does not exist, it will be created for you.

Note: You can change the document storage location in LogTag® Analyzer 's option settings once you have started the program, but you cannot change the program location. We recommend you leave all options at their default setting, especially if you are unsure of what option to select or what effects changing the option would have.
-
Select, which files you wish to associate with LogTag® Analyzer (these files will, for example, automatically open in LogTag® Analyzer when you double-click them in Windows Explorer).
- If you are installing LogTag® Analyzer for the first time we suggest you select all file types.
- If you are upgrading from version 2, and you do not wish to use version 2 any longer, you should also select all file types.
- If you are upgrading from version 2, and you are planning on operating both versions, you can decide if you wish to associate the files in the right column with the new version (select those file types) or leave them associated with the older version (clear those file types).
You can change this later by right-clicking a file, and clicking Open with.
Click once you have made your selection.

-
The installer now has all the information and is ready to proceed. Click to start the installation.

-
The installer is copying the required files to your PC.

-
When the installation is complete, click to exit the installer program.

The drivers required to operate your USB interface are installed as part of the main installation process. From time to time updated drivers may be released by LogTag®
Once the installation process has completed the installer file is no longer required and can safely be deleted.