Advanced Wi-Fi and Network Setup
If you need to allocate a static IP address to your interface, set network details such as DNS and Gateway or require setting other parameters you select Advanced Wi-Fi and Network Setup and click Next >.
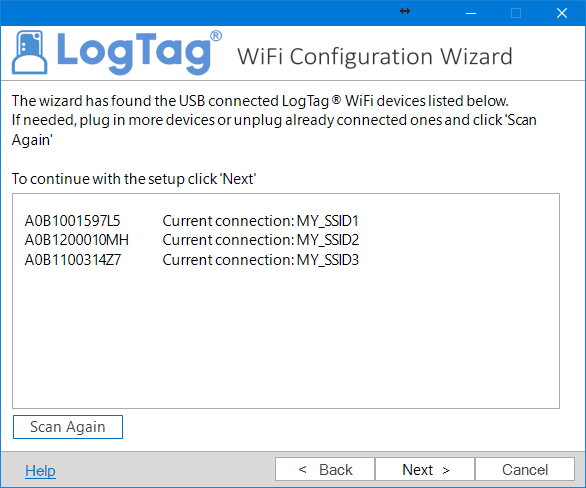
The Wizard scans for attached interfaces and shows them in a list. Click Next > when all interfaces have been found.
In the next window, you can select the SSID for the wireless network. The list is sorted by signal strength, but please remember that the network you want to connect to may not be the one with the strongest signal. If the network is currently not in range you can type the SSID, rather than selecting it from the list. This is also required if the SSID is not broadcast by the Wireless Access Point ("Hidden Network"). The advanced setup also allows you to leave the wireless network parameters of all interfaces unaltered, if, for example, you only wish to change the gateway address, but Wi-Fi settings remain the same.

In the next window enter the Network Security Key (password). You can also increase or decrease the transmit power of the module. If you are far away from the access point, select the highest level; if you are close to the access point you can select a lower level.

In the next window you can select if the network settings are obtained automatically via DHCP, or if you wish to enter these yourself.

If you select Use the following network settings, extra fields appear, allowing you to enter the settings yourself.

The next screen allows you to set a password for the configuration settings. You will be required to enter this password when you next want to make changes to the settings.


Click Configure to transfer the settings to the interface. You will receive a sucess message once all interfaces have been configured.

To configure more interfaces, plug them into your computer and click Again. Click Close to end the Wizard.
